Plexiglue
Chapter 8
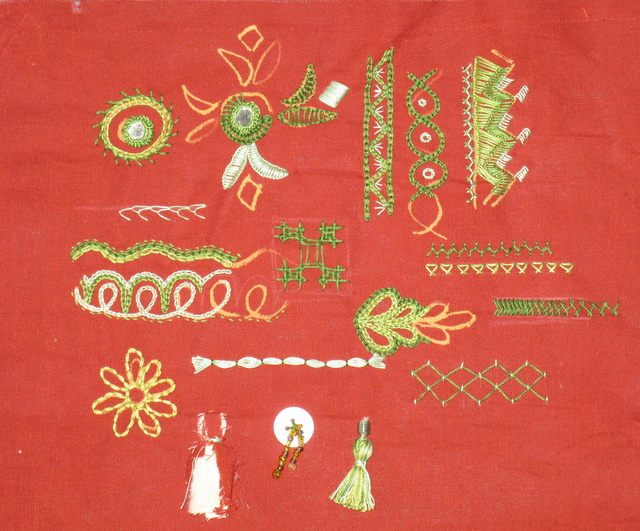
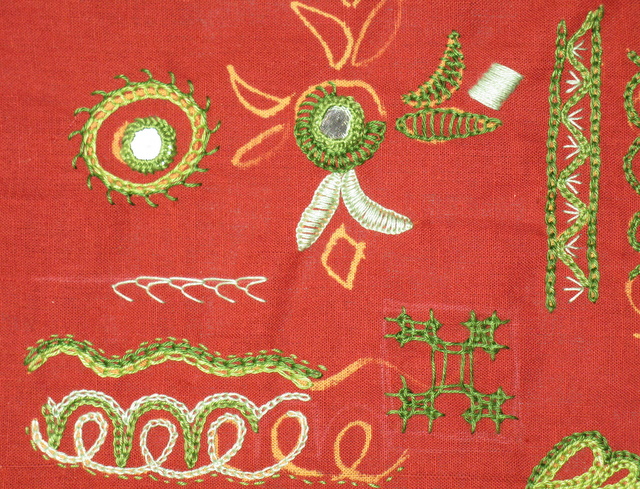
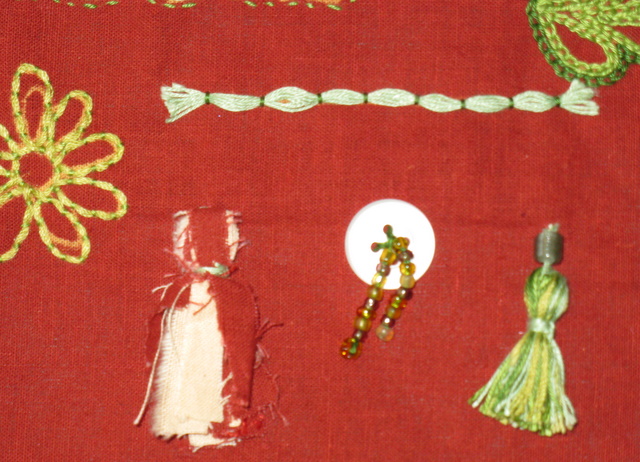
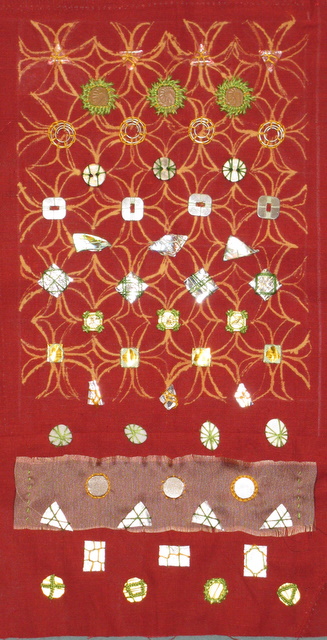
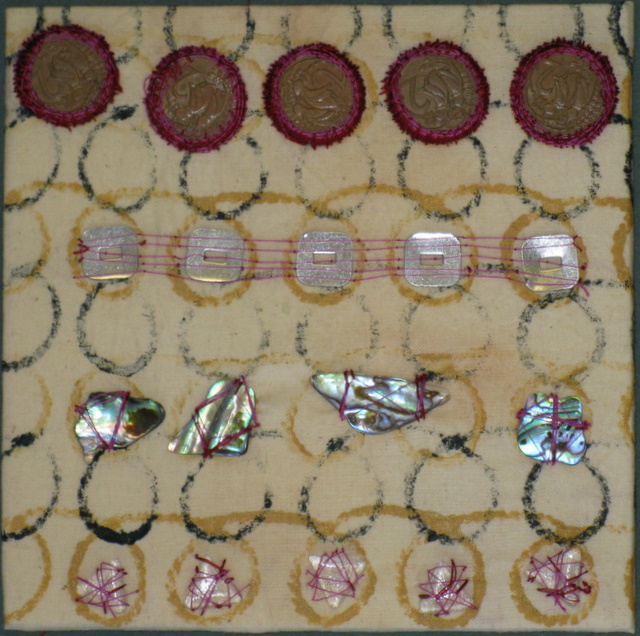
Use of Purls or Bullion
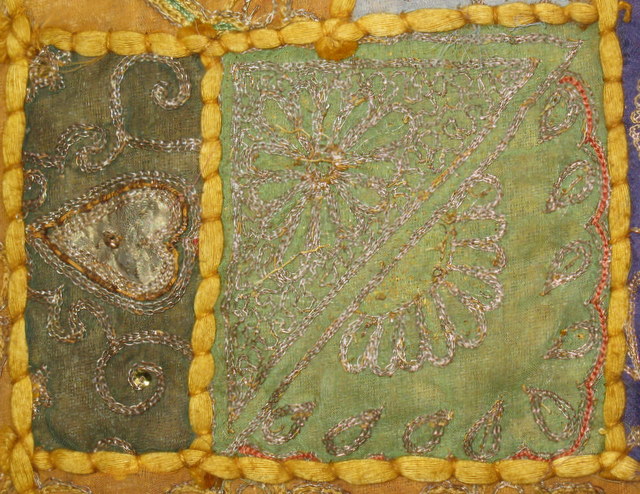
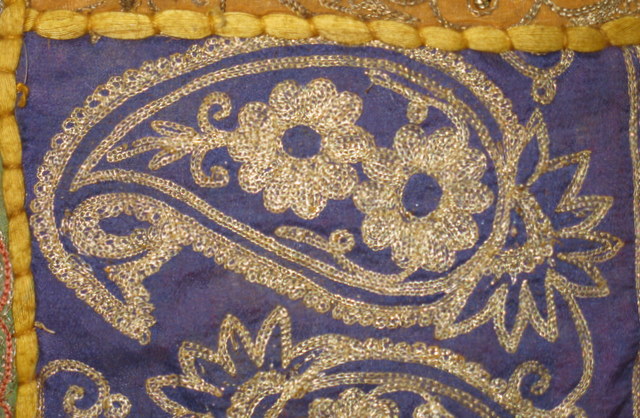
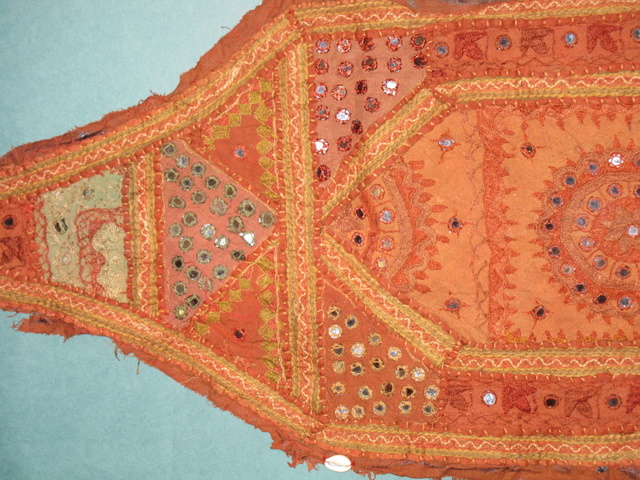
These examples are laid out on a sheet of A3 paper

Chapter 9
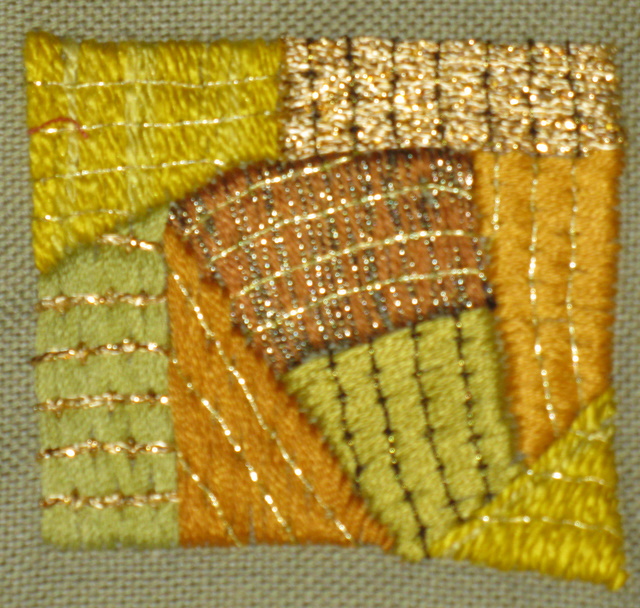
Turning Plain Fabrics into Metallic Surfaces
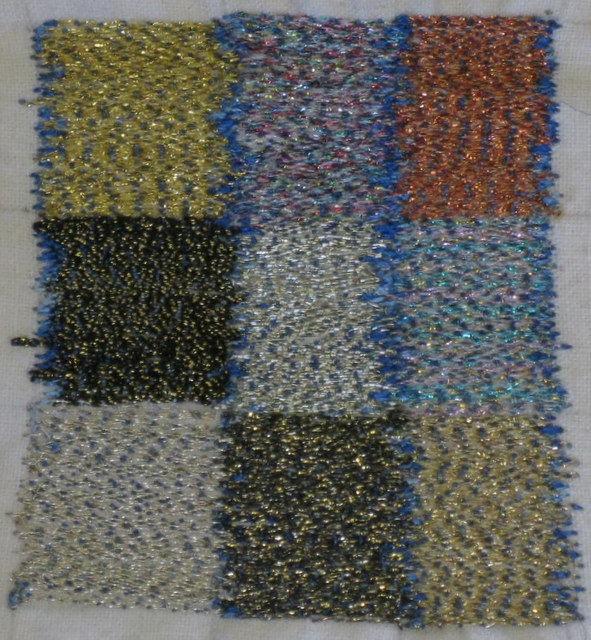
9 different metallic threads used for upper threads - dark red in bobbin at top, blue at lower. The majority of threads are Madeira Supertwist which worked reasonably well in my machine which is usually infuriatingly fussy with metallics. (Each sample 6.5cm x 5cm)

Metallic Thread in Needle, Tones of One Colour in Bobbin
Silver - thread used was Madeira No 40. It broke often, frayed easily and had a tendency to double loop over the moving thread guide. Definitely patience needed for this. Bobbin threads were from various makers - Monlycke and Coats Anchor pulled up at ends of rows more than other brands. Constructing the hexagon of triangles worked fine and the varying tonal effects are interesting. I enjoyed this exercise so completed it in both silver and gold thread. Each side of the hexagon is 5cm in length, diameter is approx 9.5cm

Gold - thread Mettler which again broke regularly even when needles were replaced. Another exercise in patience. All bobbin threads pulled up at the ends of rows. Each side of the hexagon is 5cm in length, diameter approx 9.5cm

Use of Paints, Inks and Bronze Powders
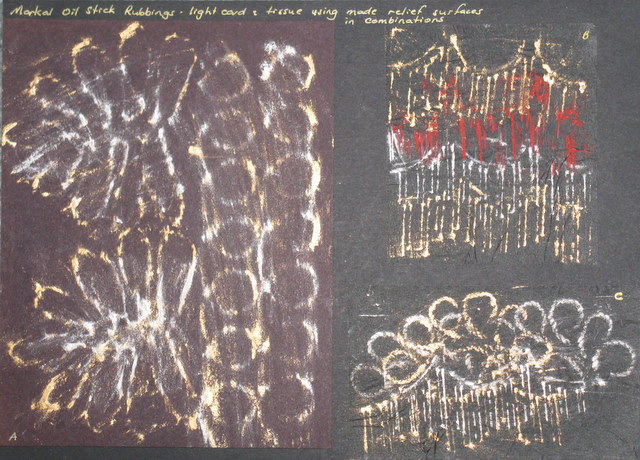
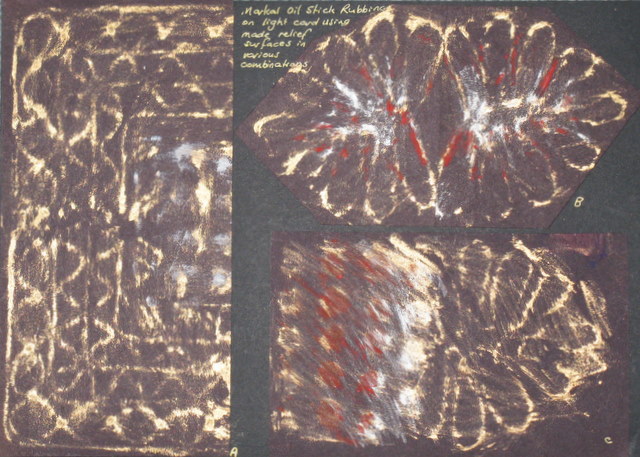
Markal Oil Sticks
Sample 1 -gold stick rubbed over a card stamp which was moved before the silver layer was applied. (approx 9cm x 9cm)
Sample 2 - Gold and silver brushed over a cross shape with an old toothbrush. Shape moved after each application. The two colours tended to merge as the same brush was used throughout the exercise. (approx 8cm x 12cm)

Sample 3 - Gold and silver brushed over a cut paper edge. This method is effective in giving an illusion of depth. (approx 6.5cm x 14cm)

PVA Glue and Foil
Sample 1 - PVA stamped on firm plush surface using a plastic tube. I like the worn look of this. (approx 8.5cm x 9cm)

Sample 2 - glue was scrapped onto surface, negative foil from Sample 1 then applied. Result messy and I don't like the glue still visible on the fabric. (approx 8.5cm x 9cm)

Plexiglue
Sample 1 - plexiglue stuck to the cellophane covering of the foil and was difficult to remove. Messy result but could cut out sections to use. (approx 5cm x 7cm)
Transfer Adhesive (Vlisoflex)
Samples 1 (L) and 2 (R) - Both samples are are on a synthetic velvet and have produced very neat, precise results . With the negative sample the transfer adhesive in the clear areas stuck to the foil coating and was tricky to remove. This sample is also rather stiff and has flattened the velvet. Each sample approx 7cm x 7cm

Samples 3 (L) and 4 (R) - scraps of transfer adhesive were scattered onto the green velvet sample, gold foil is smooth and shiny. The gold on sample 3 (negative) is a bit splotchy/textured on the firmer shorter pile of the red fabric. Each sample approx 7cm x 7cm

Sample 5 - I stitched fabric circles to the ground fabric before applying transfer adhesive and foil. The shapes are faintly visible as is the stitching. A better effect would have been achieved if I had used heavier circles and a thicker stitching thread or perhaps had stitched more intensely. This effect could be useful as the cotton fabric has remained flexible. (8cm x 12cm)

Sample 6 - Transfer adhesive and foil applied over stitched background. As in sample 5 more obvious stitching would be more effective. (9cm x 8.5cm)

Samples 7 and 8 - Scraps of transfer adhesive applied before foiling.
Sample 7 (5cm x 9cm)

Sample 8 - (6cm x 7cm)

Sample 9 - Transfer adhesive used to adhere chocolate wrappers. Although this sample is ugly the fabric gives the wrappers stability and strength and perhaps would make them suitable for stitching into. I should have tried this of course but right now I just need to get all this work organised and sent off. (approx 7cm x 7cm)

PVA and Embossing Powder
Samples 1 and 2 - Stamped fabric with glue using a plastic tube. Sample 1 is a twill fabric, sample 2 is synthetic velvet. It was difficult to remove excess embossing powder from both fabrics, the velvet of course was the worst. Also needed to add more to the thicker areas of glue as the heating turned these white. I think this technique could work well on the right fabric and if the glue application was more even (more trials I guess).
Sample 1 (7cm x 7cm)

Sample 2 - see above (7cm x 7cm)

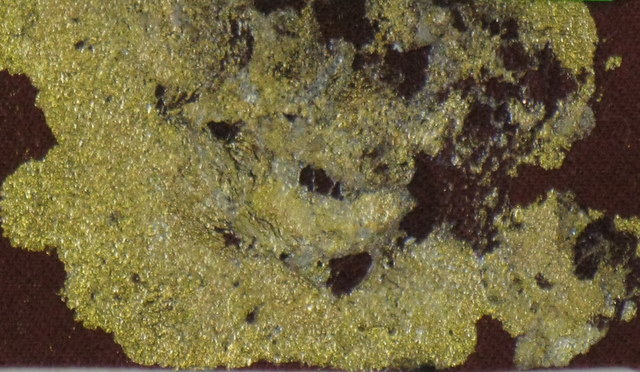
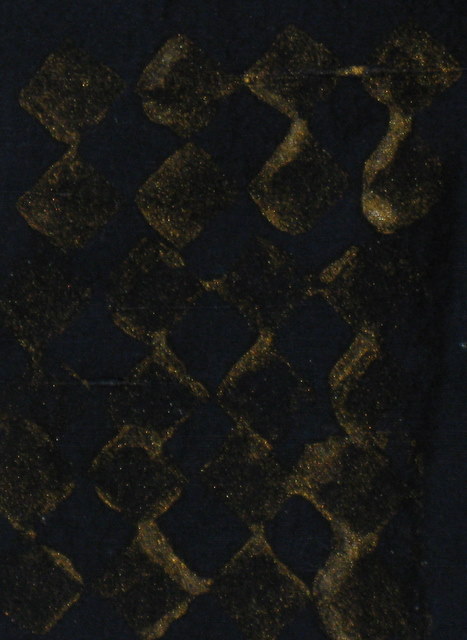
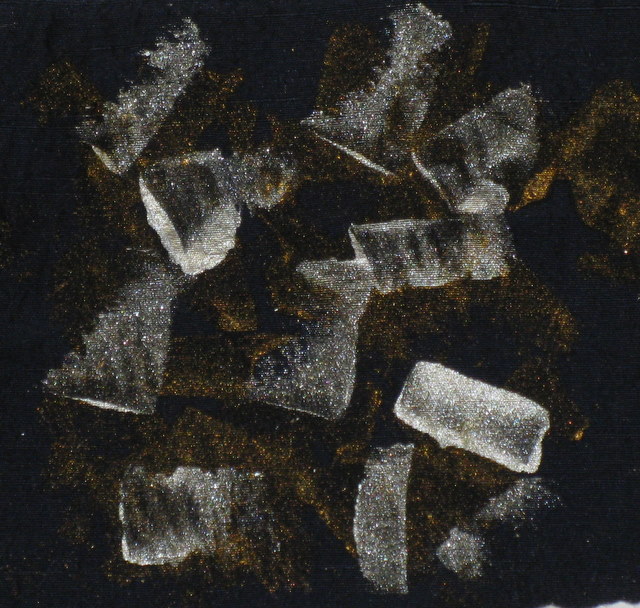
Textile Medium and Bronze Powder
Sample 1 - Bronze powder mixed with Jo Sonya's textile medium and sponged over a stencil. This worked well and would be a good way of producing a background before adding further layers. Guess I like the more controlled results. (5.5cm x 10.5cm)

Sample 2 - Bronze powder and Jo Sonya's textile medium applied to a stamp then printed on fabric. This, too, would be a successful background method. Sorry, this hasn't come out particularly well - it is rows of diamonds. (9cm x 6.5cm)
Sample 3 - Textile medium and bronze powder randomly scrapped onto fabric with edge of a credit card. Silver Setacolour highlights applied also using a credit card. (8.5cm x 8cm)
Sample 4 - Bronze powder and textile medium randomly stamped using the end of a plastic tube. I also like this effect and can see possible uses - parts of a background perhaps (7.5cm x 6cm)

How to Modify Metal Surfaces
Most of the metal samples are approx 6cm x 3cm, one of the corrugated and one of the punched ones are larger.
Ammonia was applied to the lower sections of these three copper shim samples after they had been textured. L - screwdriver, C - metal rod, R- folded. The patination occurred within a couple of days.


Top sample (tomato paste tube) was punctured with a sewing machine needle - metal moved easily through machine . Lower sample was textured with the hole end of a darning needle - surface indented but not pierced.

These two samples were wound through a corrugating machine that Karen owns - a quick and easy way to get an even texture.

Folded (L) and folded lengthways and scrunched (R). I prefer the randomness of the RH sample

The top two samples have been textured with a ballpoint pen. (L) the side the pen was applied to, (R) (copper sheet) the reverse which gives a raised instead of an indented pattern. The lower samples have been distorted with the end of a metal rod. The different coloured surfaces are from two brands of tomato paste.

Three copper sheet samples which have all been heated with a heat gun. (L) - polished before heating, (C) - distorted in storage prior to heating, (R) scrunched then heated

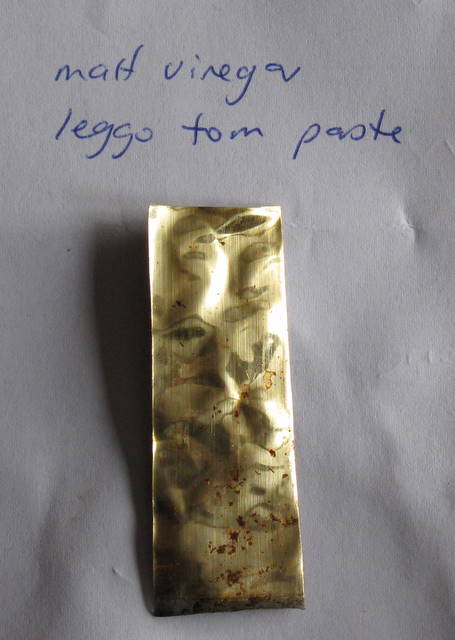
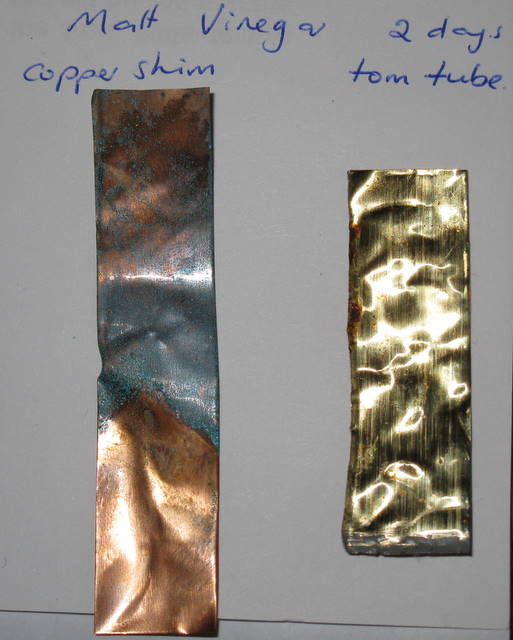
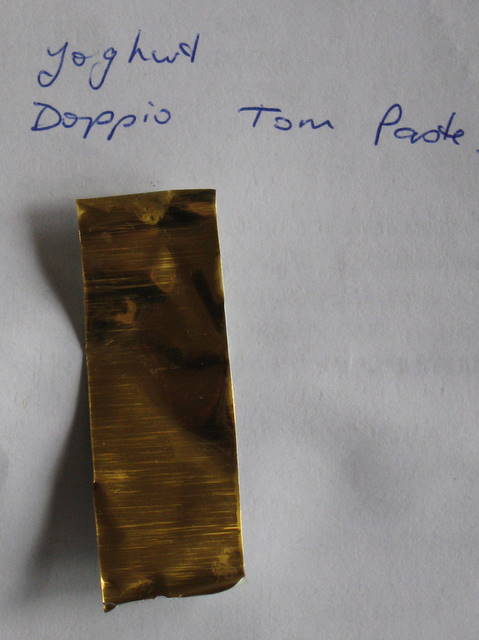
My initial efforts at patination were not successful. I tried a variety of mediums: Janola bleach, brasso, lemon juice, malt vinegar and yoghurt. After 2 days nothing had happened other than some patination on the copper sheet (RH sample directly below) and then with one thing and another I left the jars containing the samples undisturbed for 7 months. Overall the results were not exciting with the yoghurt and malt vinegar on the copper sheet the most successful. As you will see below some of the solution dissolved the copper where it was in contact with it. None of the solutions had any effect on the tomato paste tubes other than to dissolve the paint and coat the metallic side with it. (see the Janola samples).
Fortunately I had taken photos of all these samples before the September earthquake which tipped them all onto the floor and created a big muddle.


The two copper sheet samples below were hung in ammonia fumes for a week before removal. The reaction worked quickly but did darken the copper as well as turning parts the lovely copper blue. This was definitely the most successful of the experiments to get an overall patination quickly.